6 violin techniques you should practice every day
This blog post accompanies Violin Class Podcast Episode 47. Listen on Apple Podcasts, Spotify, Stitcher, iHeartRadio, or wherever you get your podcasts.
In my 15 years of teaching violin, I’ve noticed a topic that is confusing for a lot of adult learners: how to structure their technique and warmup practice.
In this blog post, I wanted to discuss six things that I think that every violinist should be practicing in some form at every practice session— some of these will be more geared towards intermediate to advanced players, but most will apply to beginners as well. I hope to give you a few more things to add to your practice routine and some ideas for how to practice them.
Why practice technique?
If you’ve listened to Violin Class before, you know that part of every practice session you should spend a bit of time focusing solely on your technique.
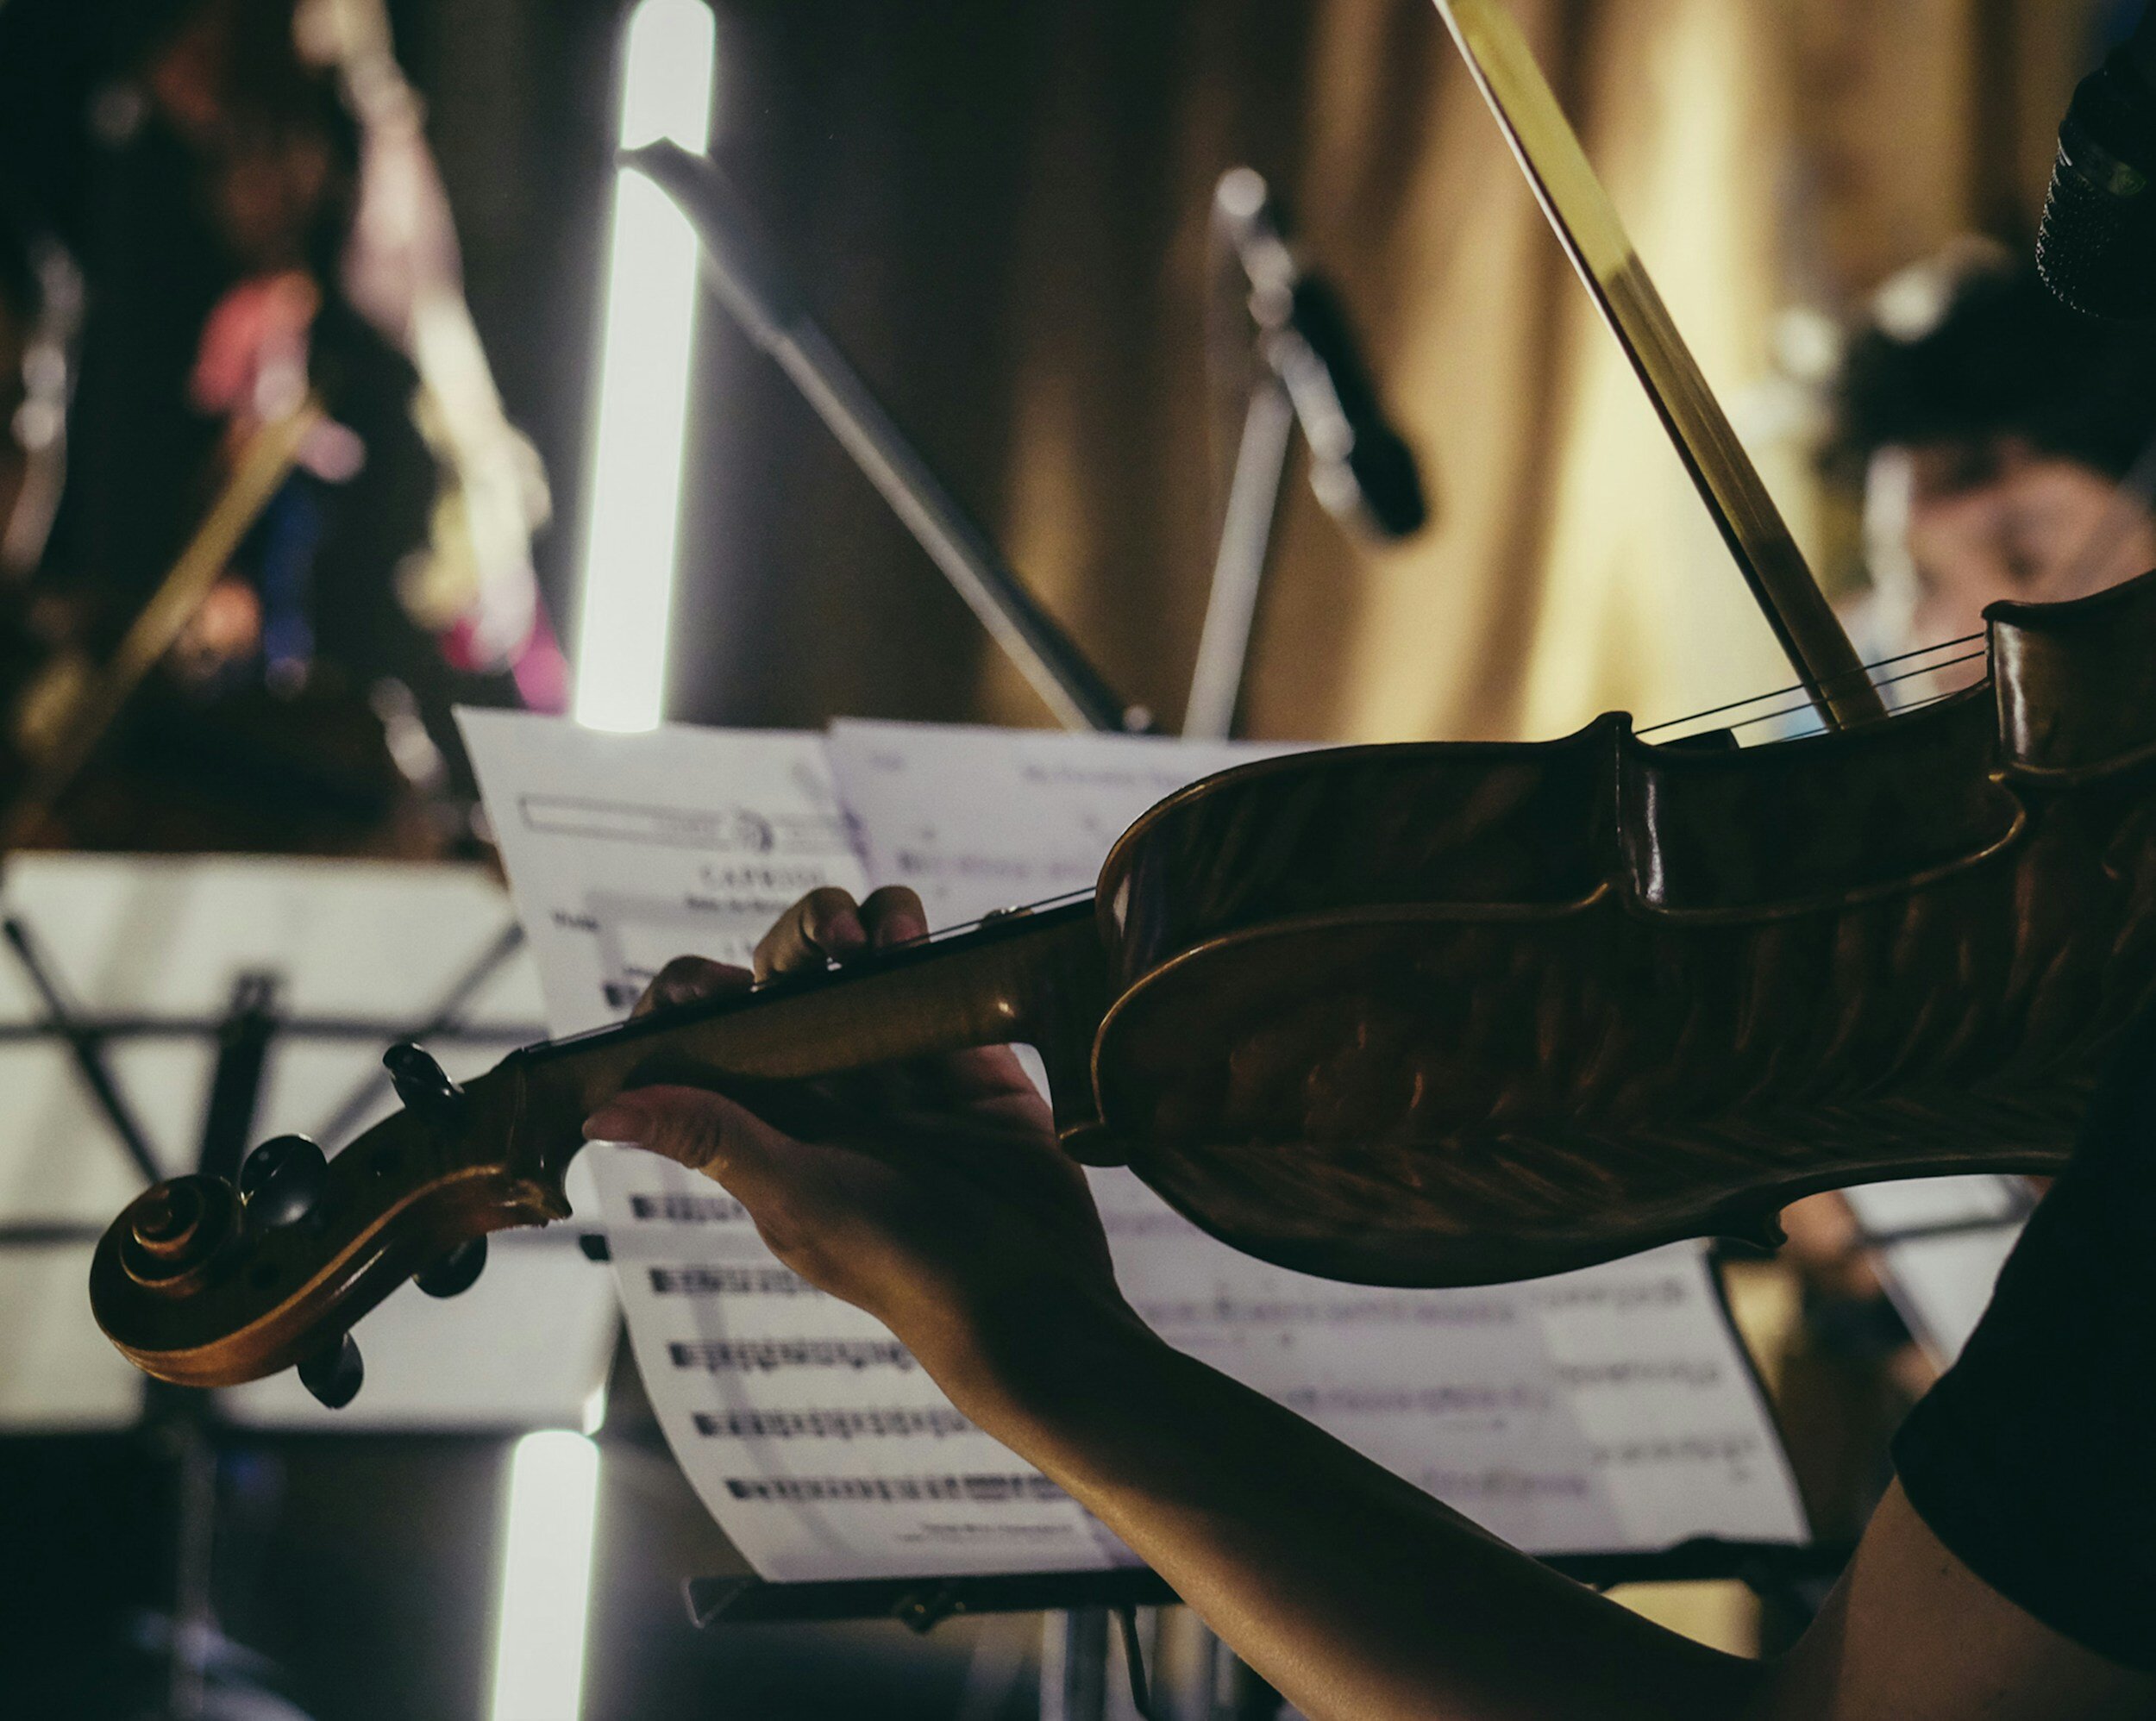
Technique practice is just an umbrella term for all of the building blocks that make up violin: this is scales and arpeggios, bowing patterns, articulation, intonation, double stops, and tone to name a few.
This practice time is what will allow you to move the needle in your violin playing. During this time, you can start building up new skills, ideally at a level more advanced than that of your pieces. When you encounter this technique in your pieces, you’ll already be familiar with how to practice it.
If you need some more ideas for practicing technique at the start of your violin session, you can download that here: Free Warmups Ebook
What to practice to improve your violin technique

1. Long Tones
The best exercise to improve your tone on violin is some sort of long tones. This is slow bowing practice— you will place the bow on the string and play each note very slowly, from frog to tip.
To make real progress, going through the motions is not enough. You need to focus on the right things to get results.
Focus #1: Evenness of tone
One of the goals for long tones is to create a completely even bow speed.
This means that you are not speeding up, slowing down, or jerking the bow at the direction changes. Each part of the bow sounds exactly the same. So, if I were listening to you without being able to see you play, I should not be able to tell which part of the bow you're at.
This is a skill that takes years to really master, and is something that I work on still constantly.
Son Filé: Long tone exercise 1
There are a few ways that you can go about playing long tones— the one you choose isn’t as important as doing it consistently.
My favorite exercise for working on evenness of tone is the son filé, or the minute bow.
You're going to put on a timer for a minute and you're going to try to play a note for the duration of that length. For those of you who aren’t advanced player, I think 60 seconds is overkill— I would much prefer someone do this exercise successfully in 20 seconds, which is already challenging if you’ve not practiced this before.
This type of exercise is really going to improve your endurance, your small muscle control and your tone production,. We want to have a beautiful tone and this extreme long tone exercise is a great way of achieving that.
Slow Scales: Long tone exercise 2
Other things that you can do are playing really slow scales.
You may have a routine for this— if not, check out my blog post on how to practice scales. But in essence, when you practice scales, make sure you always start with very slow scales.
By slow, I mean this:
Set a metronome to 60bpm, or slower. The slower, the harder.
Each note gets a whole note, or 4 counts
What to pay attention to:
Evenness of tone, just like the previous exercise. We don't want to hear any jerkiness, any speeding up or slowing down.
No “holes” in the sound, or bow shaking. That's a very common issue that I encounter all the time with my students, beginner or not beginner.
How are you feeling in general: Are your shoulders tensing up? Are you breathing correctly? Are you locking your knees? Are you locking my your?
Playing slowly is going to give you brain the time to understand what's going on with your body. If you rush, your brain doesn't have time to process and have that awareness of how you're feeling. This will affect all different parts of your playing.
This is why long tones are my number one practice tool, and something that I asked my students to do on a regular basis.

2. Scales
The second thing that you should be including in every practice session is some sort of scales or arpeggio. If you are short on time, you can double dip with the previous section by playing slow scales.
However, if you have a bit of extra time, practicing fast scales are just as important.
To play fast, we need to practice fast as well. Of course, this comes with a solid foundation.
You need to make sure that you're speeding up something that you can already play. If you want to process for this, I have a whole podcast episode called playing faster, a step by step guide. In short, you are working with metronome at first, taking the time to really slow everything down to figure out the finger patterns, making sure you're playing in tune that you have a nice tone. But from there, you will speed things up and practice keeping your fingers light.
Practicing with a fast bow
You should practice moving your bow faster as well. For a beginner, fast eighth notes with separate bows and slurs of two to four on a scale will do a lot for building up your ability to play fast.
If you're a more advanced player or intermediate, then you should be practicing your scales in 16th notes, both with slurs and separate bows.
This will allow you to start building up the ability to separate out. Your small muscles from your large muscles.
As you play fast, you should be moving more from the wrist and less from the arm— this is a really important distinction.
To give you a bit of context, this is something that I introduced fairly early on in a simple way with my 1st year violin students: the ability to move from the fingers s. wrist vs. the arm. Then it's something that we revisit about once a year and really double down on in years 3-4, especially when preparing to develop the off-the-string stroke.
This is one of those intermediate techniques that takes a lot of foundational work in the early years: foundational work you should be doing very regularly in your scale practice.
Scale patterns for better bow technique
In summary, practice scales:
Slowly (see long tones)
With separate bows at a medium-fast tempo
Slurs of 2 notes
Slurs of 4 notes
For more ideas, you can check out my scales routine episode. But remember, don’t play faster than you can play in tune!

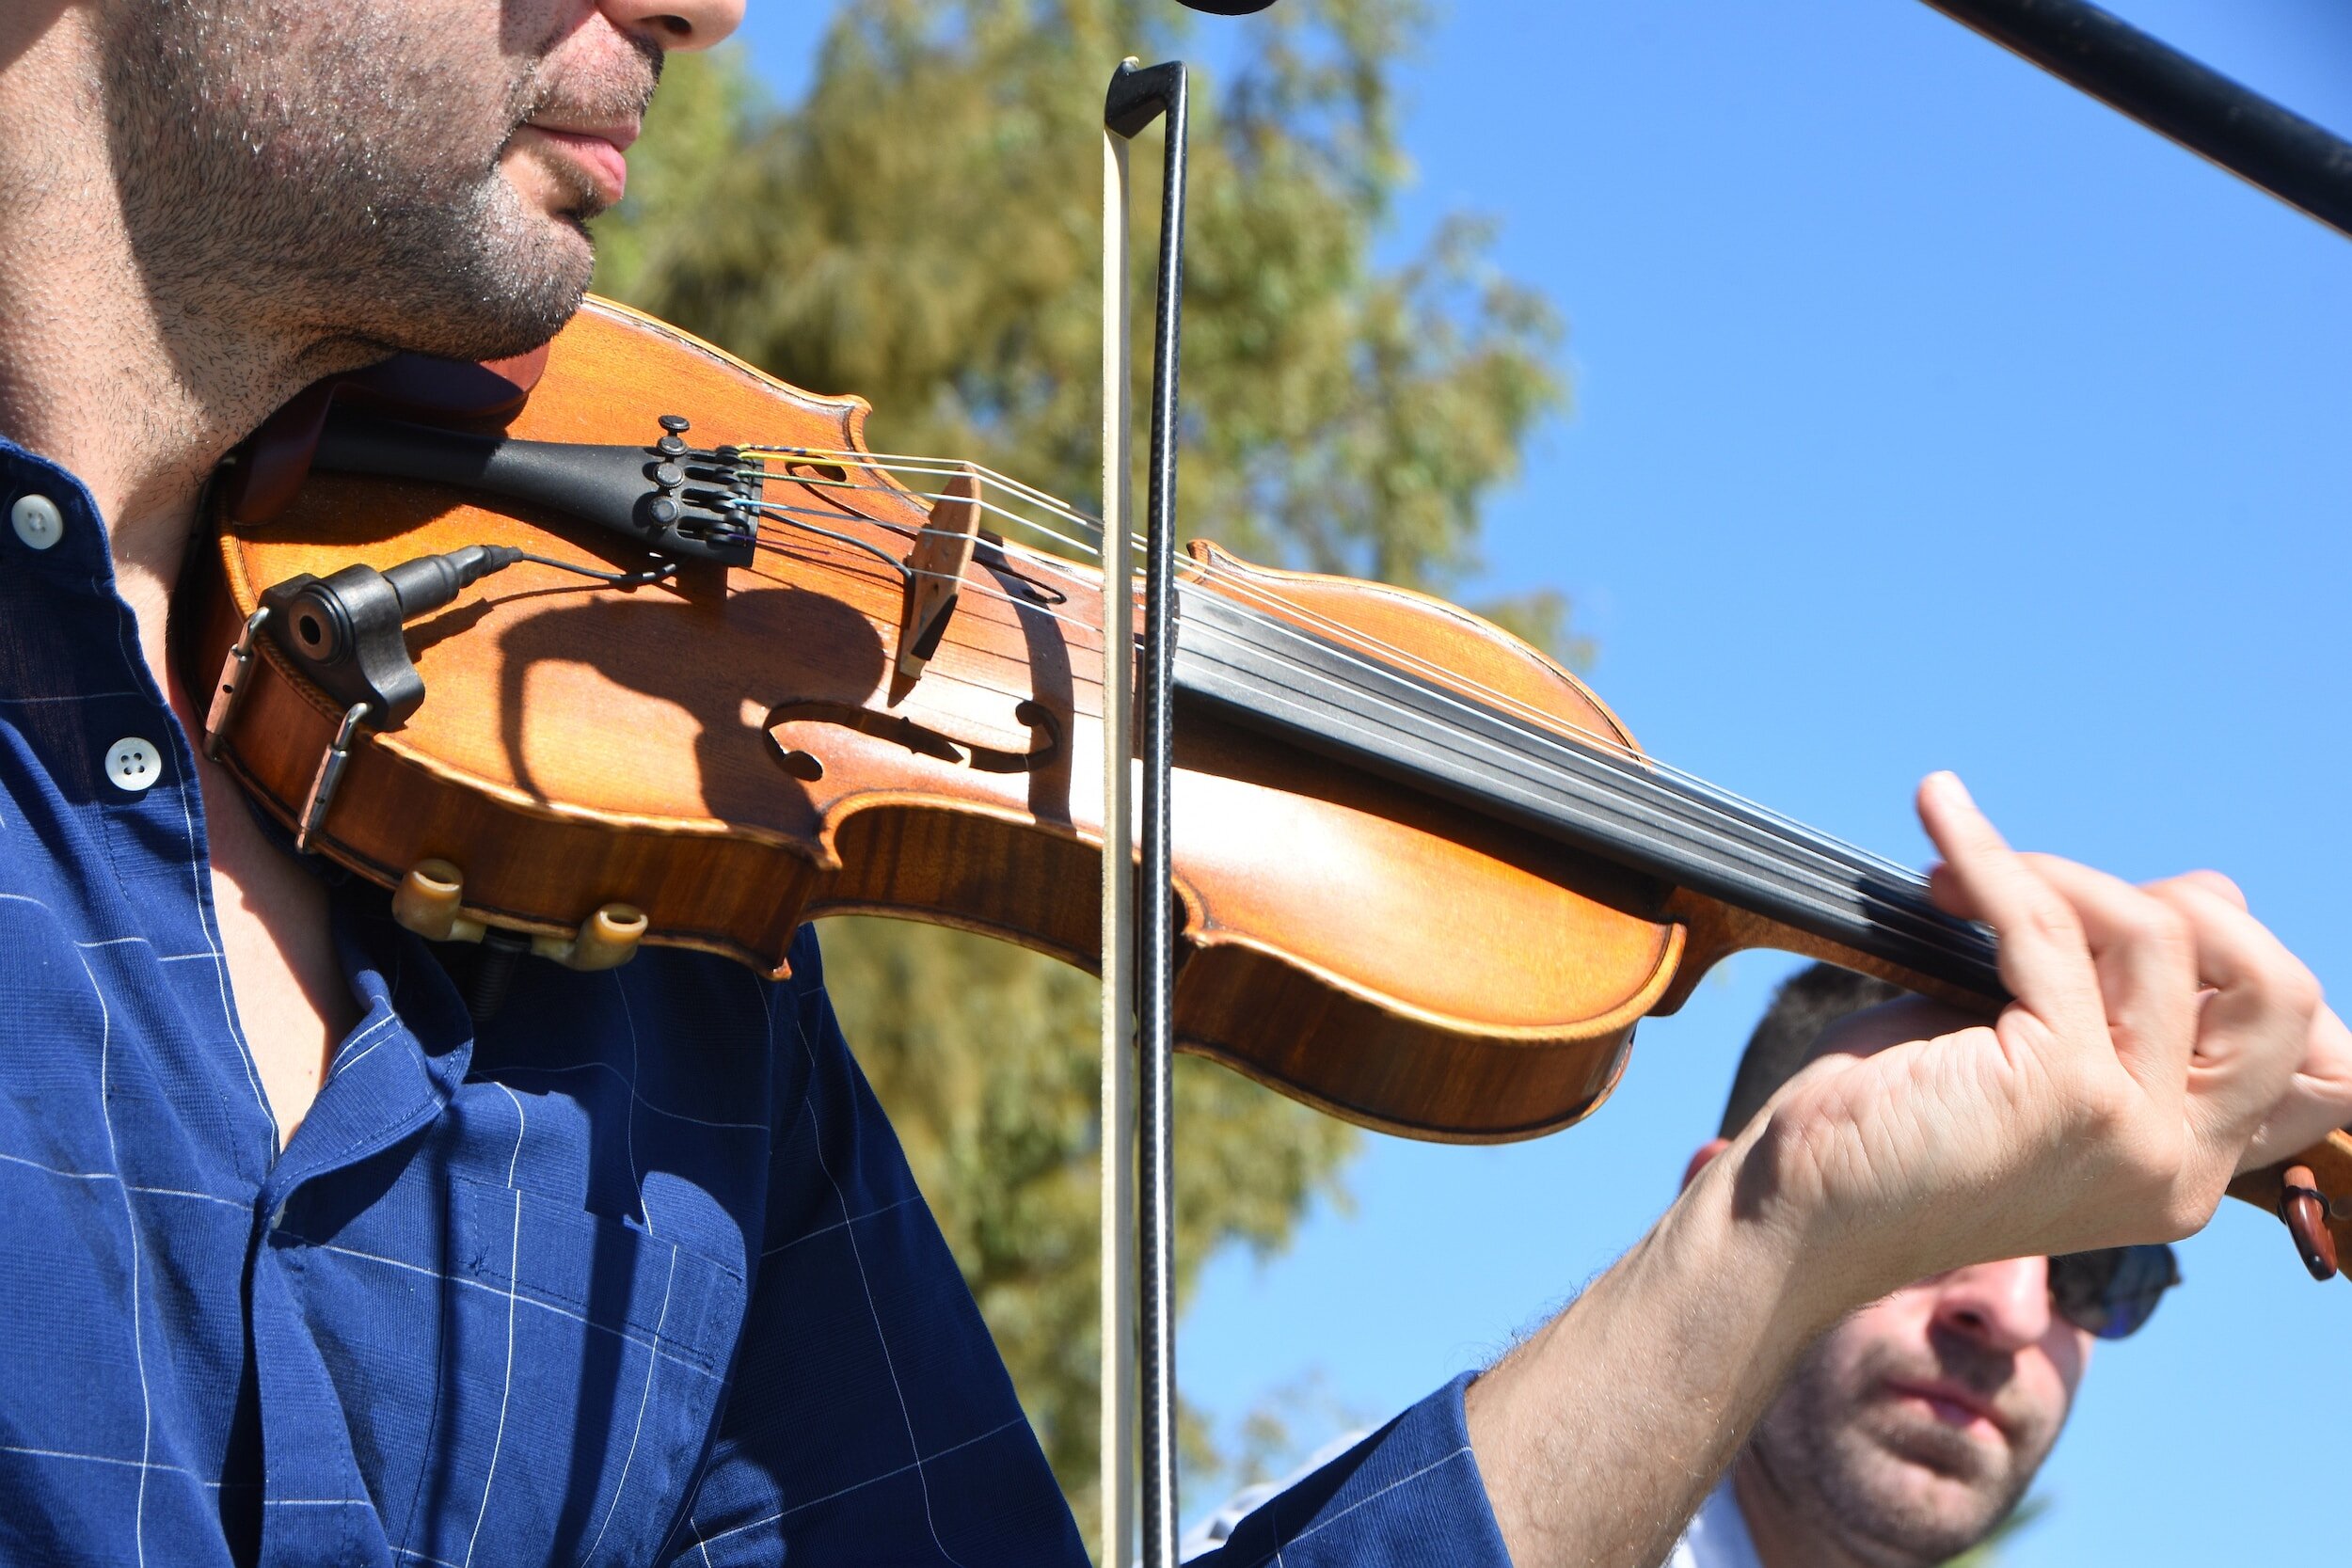
3. Double Stops
The thing that you should be practicing regularly are double stops. Double stops is the term for playing two notes at once on the violin.
It is generally considered a more intermediate to advanced technique, but is one that I like to introduce earlier on, specifically near the end of the first year. This is because double stops, at least with open strings, are not very much more difficult than playing on one string. It's hard to get it to sound very clean, but if you're able to play a clean double stop, your single notes will sound clean as well.
For more advanced players, your routine will eventually involve octaves, thirds, and sixths, but that takes a lot of building up in your earlier years.
Practicing double stops helps you to map your bow arm, improves your ability to control your right hand, and of course, is one of the best intonation exercises you cna do.
What to focus on in double stops:
In your bow arm, you should be paying attention to the exact same things as in your single string long tone exercises:
Evenness of tone.
Avoiding a scratchy sounds
No jerking at all in your transitions between up and down bow.
And additionally, specific double stops is always hearing those two notes at once. You're never letting go of one of the strings.
This takes a lot of focus, which is why it's something that you need to be practicing regularly.

4. Playing in the lower half of the bow
A skill that is often neglected, especially in the beginner stage of playing, is feeling at ease in the lower half. This also needs to be practiced quite a bit, because it’s not something that comes naturally to most players, myself included.
It feels unnatural, stiff, jerky, and often creates a crunchy, compressed sound with the bow. So, learners often avoid the lower half completely and it doesn’t improve.
The ability to play in the lower half is probably one of the top, if not #1 top thing I work on with new students to my studio. It often takes a bit of backtracking as we nearly always need to adjust the bow hold. This is so worth it, because feeling comfortable in the lower half is the most important skill develop to be able to play with a beautiful and effortless tone on the violin.
So, if you’re having trouble sounding good near the frog, it is worth taking a few lessons to work on this specifically with a teacher— it will save you time and will make a huge difference in your playing.
How to practice playing in the lower half
Practically, the easiest way to practice this skill (after fixing your bow hold— this is steps 1, 2, and 3!) is to take some of your old beginner violin music and play through them at the lower half, between the very frog and the middle of the bow.
The goal is to make it sound just as good as if you were playing anywhere else in the bow. If I were listening to you without being able to see you play, I shouldn't be able to tell necessarily that you're in the frog or in the lower half.
To be a good violinist, you need to have complete control of the bow, no matter where you're playing.
5. Playing with metronome
Many violin players really struggle with rhythm: it's something that we are notorious for since it's a solo instrument.
This makes it difficult to play in an ensemble, because a lot of us just don't have an innate sense of timing or rhythm. It's something that a lot of my students have told me that they struggle with, and something that definitely does not come naturally to me.
But just like anything else in music, this is a skill and it's something that can be practiced and learned.
You can practice with metronome in a variety of different ways, but try to integrate a bit of metronome work into most of your practice sessions.
How to integrate metronome work into your violin practice
I like to alternate days when it comes to metronome.
When I'm practicing my scales, I’ll do a day with metronome where every note is measured, and then the next day I'll do my best to stay in tempo without a metronome.
I've been doing that for many years now. And I've found that it is regular enough to keep me steady, but not overly using the tools so that I feel like I have a robotic sense of playing.
This is important in not only your scales, but also your pieces— especially if it's a slow lyrical pieces.
Sometimes as violinists, we get so carried away when we're playing a beautiful melody that is easy to forget what the rhythms are and just kind of make something up because it sounds pretty. That can be fine, if you're just playing for yourself, but it quickly becomes an issue comes when we're trying to play with another person or a recording. If you're not able to follow a rhythm, the person who is accompany you or playing a duo with you won’t be able to guess what you're doing. So, make metronome work a regular part of your violin practice.

6. Shifting
The last one is for those more intermediate to advanced players: shifting. I mentioned this because when I was growing up and when I started to get to the level where I was regularly shifting, playing in third position and above, I didn't realize that I actually had to be practicing shifting on its own outside of the piece.
Once I started doing that, my tuning improved tremendously and my playing became much more relaxed.
If you have started shifting, whether that be just for a single note on a single scale or in a piece, you need to make sure that you are regularly practicing shifting on its own. Make sure that you're feeling very relaxed: don’t tense up any part of your body, like your thumb, your neck, or your shoulders. If you feel tense when shifting, you likely have a setup issue that you need to go back and fix with a teacher..
Playing in only first position is only relevant when you're a beginner (at least in classical music). As you advance and get into more serious repertoire, you're constantly shifting up and down, so it’s something that you need to always be tuning into and practicing regularly as part of your warmup routine.
In summary: 6 techniques to improve your violin playing.
Long tones
Scales
Double stops
Lower half of the bow
Metronome work
Shifting
Those techniques might sound quite overwhelming if you haven't been practicing any of them.
What I would recommend that you do if you are just starting out and figuring out how to practice your technique exercises, is put everything on rotation.
Pick a couple of categories from my list and focus on those for that practice session. The next time you're practicing, visit the other two to three. And then you continue alternating that way in a week you've done everything. This way, you’ll never go six weeks between practicing shifting— it will always be maintained.
When you improve your violin fitness, you're going to see improvements all across the board in your playing.
Free Vibrato Ebook
If you want to follow along more in-depth, download my free vibrato ebook.
You’ll learn about the historical background of vibrato, arm vs. wrist vibrato, more about the 4 stages of learning vibrato, 3 pre-vibrato exercises, and common vibrato mistakes.